Create and organize documents
Folders, uploads, imports, search, and bulk actions on the Documents page.
The Documents page is your file manager: every Markdown document and folder in the active project lives here.
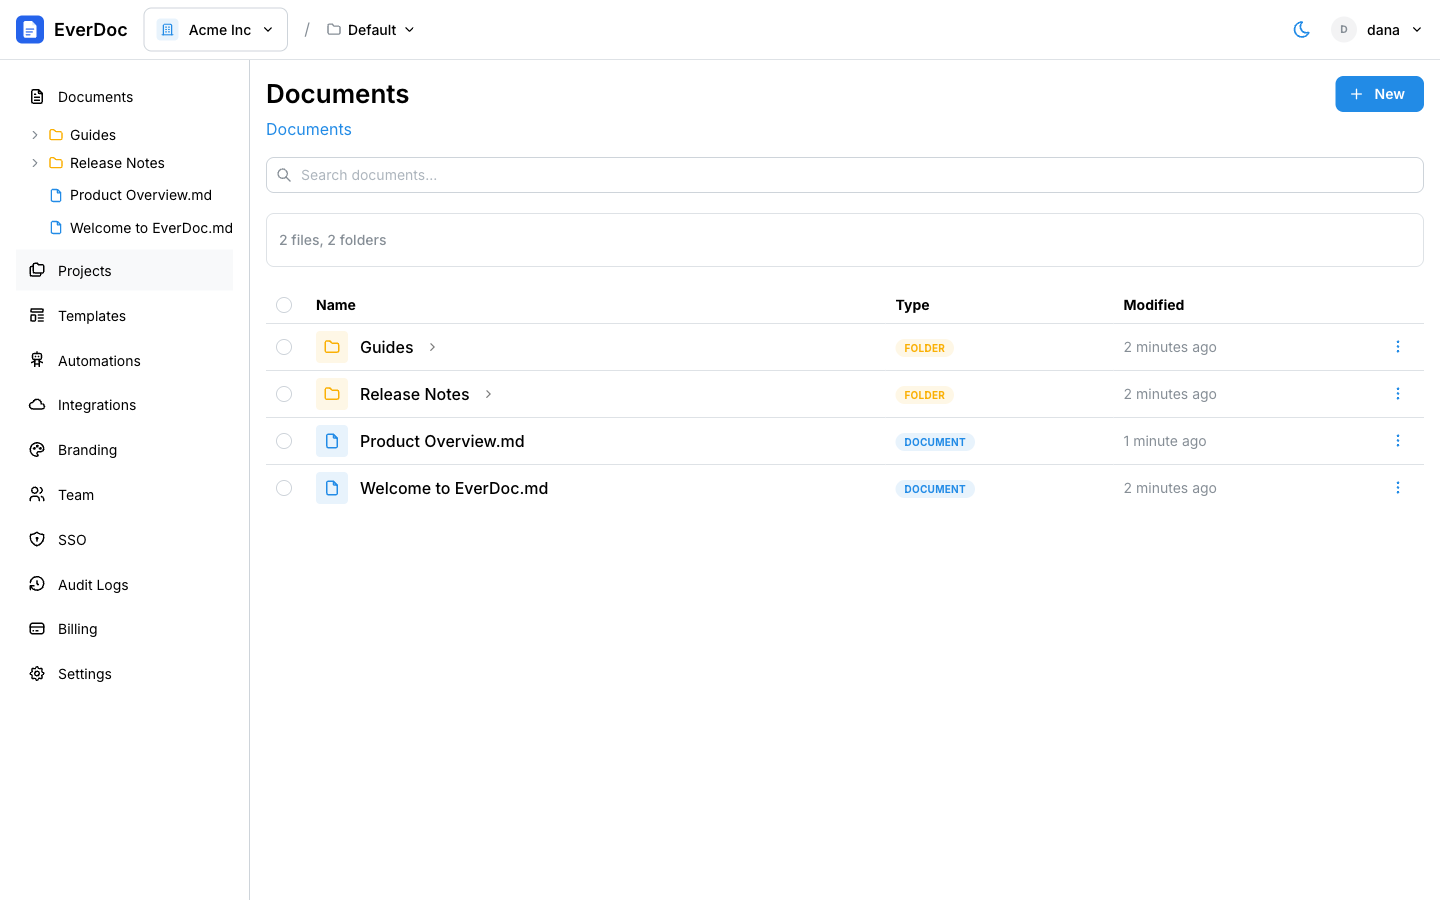
Create documents and folders
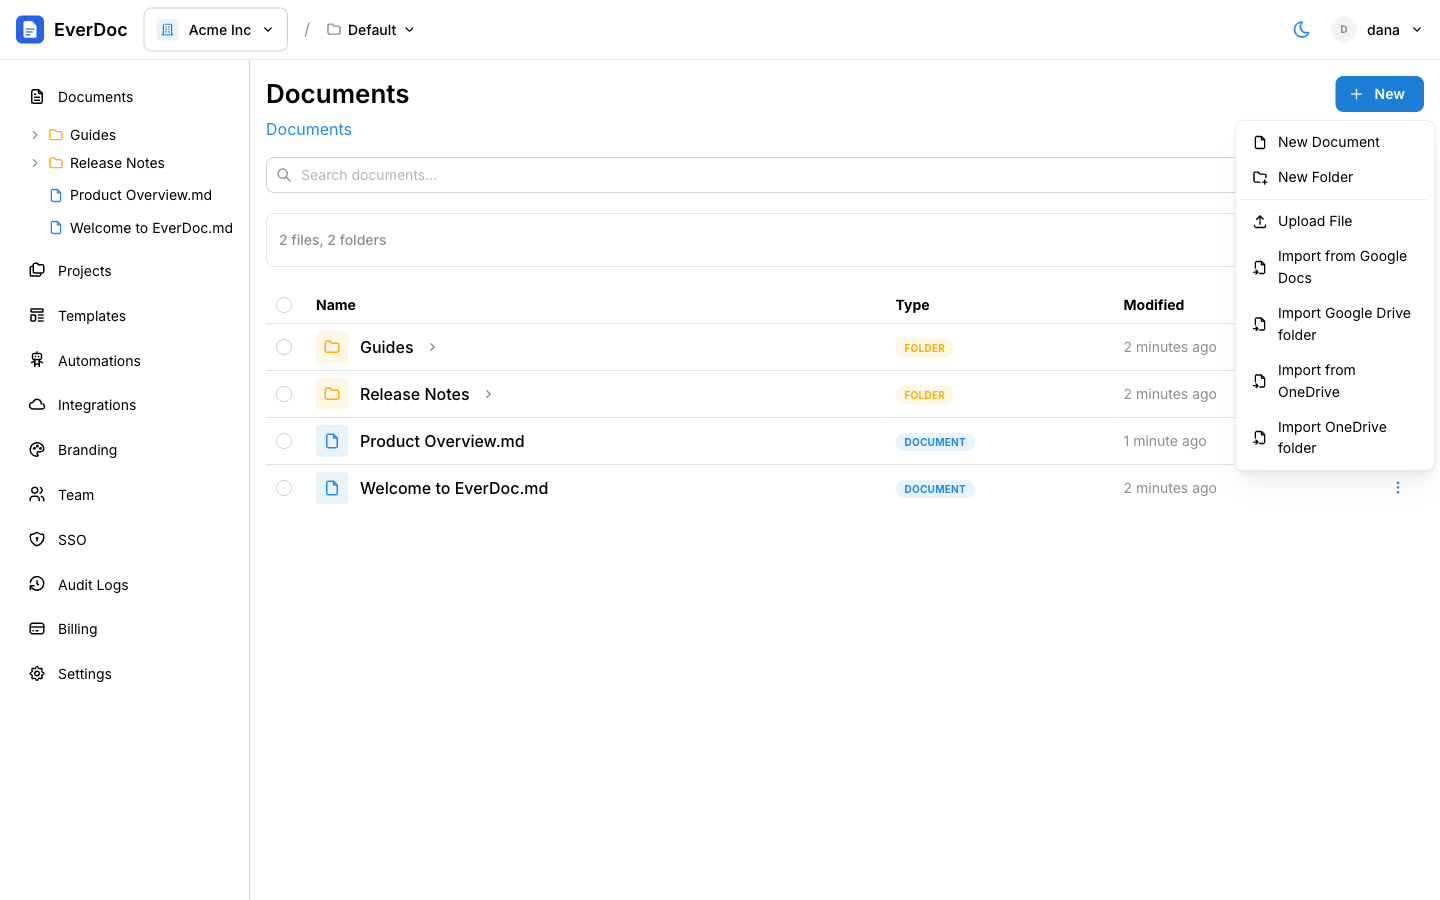
Click the New button to open its menu:
- New Document — name it (the
.mdextension is added automatically) and click Create & Edit to jump straight into the editor. - New Folder — organize documents into a hierarchy. Click a folder to enter it; the breadcrumb trail at the top takes you back.
- Upload File — upload existing
.md,.markdown, or.txtfiles. - Import from Google Docs — paste a Google Doc link and EverDoc converts it to Markdown with AI, cataloging any images. Requires Google Drive to be connected (see Google Drive & OneDrive).
- Import Google Drive folder — import a whole Drive folder at once: every Google Doc is converted to Markdown,
.mdfiles are imported as-is, and the folder tree is mirrored. The import runs in the background and notifies you when it completes. - Import from OneDrive / Import OneDrive folder — the same import flows for a connected OneDrive account.
Find and manage documents
- Search — use the "Search documents..." box to filter by name.
- Move — drag a row onto a folder, or use Move to... from the row's ⋮ menu.
- Rename / Delete — also in the row's ⋮ menu.
- Bulk actions — select multiple rows with the checkboxes, then use Move to... or Delete from the toolbar.
Generate PDFs from the list
You don't have to open the editor to produce a PDF:
- On a document row, open the ⋮ menu and click Generate PDF. EverDoc renders the document with your organization's default template and downloads it.
- On a folder row, click Export as PDF to merge every document in the folder into a single PDF — perfect for handbooks and multi-chapter guides.
- Download fetches the raw Markdown source file.